Working With Custom Fields
The Connector can exchange custom field data with JIRA.
Using Custom Fields
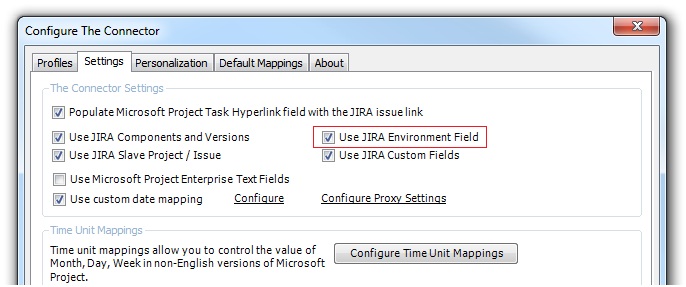
The Connector allows for limited exchanging of custom field data between JIRA and Microsoft Project. To use this function, you will need to enable the option under the configuration screen.
For demonstration purposes, we've created some custom fields in JIRA. One for a Customer Tracking Number, for which we will store some arbitrary value that ties to a customer and a Ready To Update flag which indicates that the fix is ready to be deployed.
NOTE: Microsoft Project has 30 custom text fields that The Connector uses, but you can mix and match the values you wish to use.
There are 5 mappings that are required but all of the others can be assigned as you wish.
The "Custom Fields" tab of this dialog will allow you to assign the location for the custom fields you wish to exchange.
Simply check the fields you wish to exchange and assign a Text field from the drop down selection box.
Once these values are configured, you can click on the header and choose the "Insert Column" function to add these custom fields to your task list in Microsoft Project.
You'll notice that our task list in Microsoft Project has two columns for our custom fields.
Next, we'll create a task in Microsoft Project and highlight it.
These values can be edited right inline or through the Issue Editor. By selecting the task and choosing the "Issue Editor" option under the tools menu, we can display the issue editor dialog.
The issue editor has been enhanced in The Connector 1.2 to support some additional functionality. You'll notice the new tab for custom fields.
We can make the changes to the custom field from this dialog.
NOTE: The Connector cannot determine the type of custom field from JIRA, so you will have to make sure that value is formatted correctly. In the case of the "Ready To Update" custom field, it is a selection field with valid values "Yes" and "No".
Next we'll send this data to JIRA using the "Send To JIRA" function. You will need to make sure — via the "Customize" option of the "Send To JIRA" function — that you have checked to include your custom fields. Without these options checked, The Connector will skip over the custom field's values.
Once the information is sent to JIRA, you'll notice that the values we have provided are displayed under the issue.
If we edit the issue through JIRA and alter one of the values, we can do an "Update From JIRA" and pull this information back into Microsoft Project. In this case, we have changed the "Ready To Update" flag to "None".
We'll add a customer tracking to through JIRA to this issue. Once we do the "Update From JIRA" function, we'll notice that value imported into your Microsoft Project file.